
How to use stayV Host · EP. 08
Using stayV HostAdd amenity instructions for air conditioners, boilers and more
At a glance
Create appliance cards guests can follow, helping answer questions such as which button to press on an air conditioner or boiler.

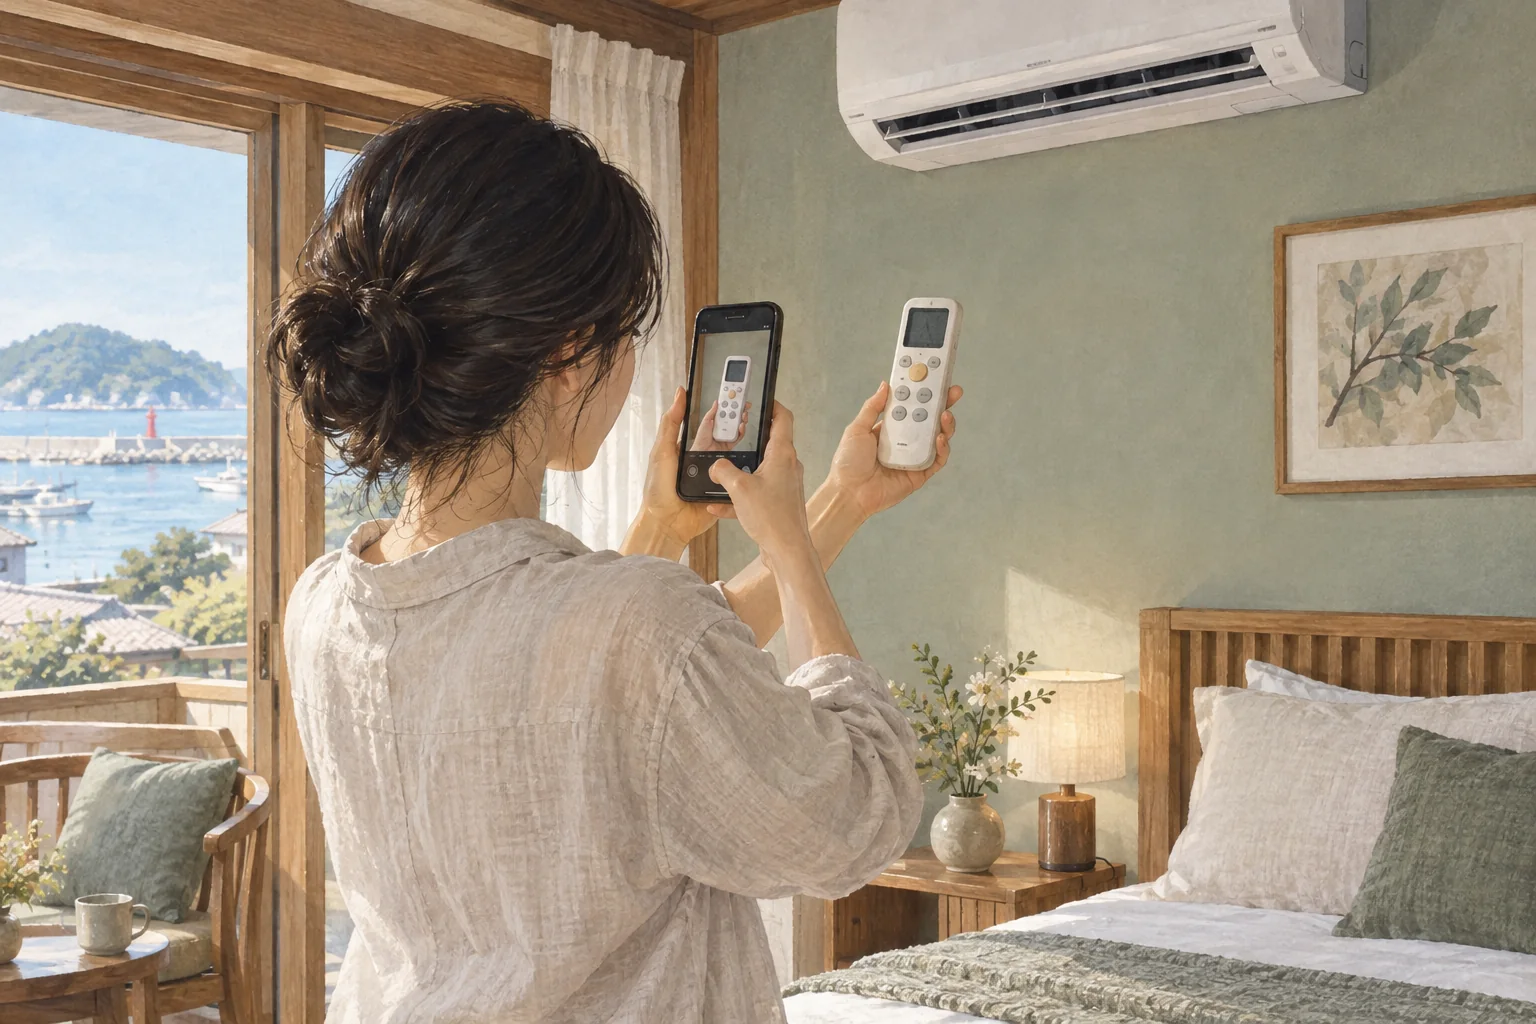
“I found the air-conditioner remote, but which button do I press?” Having equipment is only the start; guests need to know how to use it. Let’s make instructions for one appliance that guests can follow.
We demonstrate entering and saving a new card with the Seoul Ongi Hanok · Practice guide draft. Remote-control photos and step descriptions come from a finished card at the operating Seoul Ongi Hanok property.
At a glance
- Start with one frequently asked-about appliance, such as the air conditioner, boiler or washing machine.
- Include the location in the title and put the remote’s location in the first sentence.
- Test the equipment as you write: turn on → choose a function → turn off.
- Include the Korean labels printed on the remote.
- Add photos of your own equipment and select Save card.
Learn more
1. Choose a frequently asked-about appliance
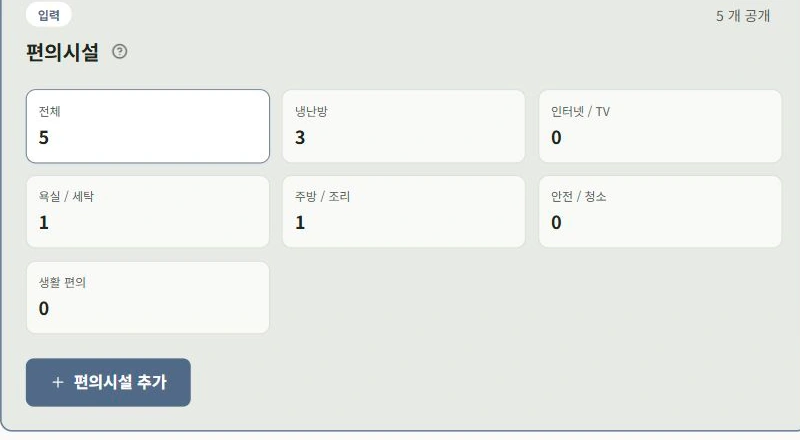
Open the editor and select Amenities. Check existing cards first. Duplicate cards for the same equipment can leave guests with conflicting instructions.
Start with one appliance guests often ask about. Korean boiler controllers, in particular, can be difficult for international guests.
2. Choose a type and title in Add amenity
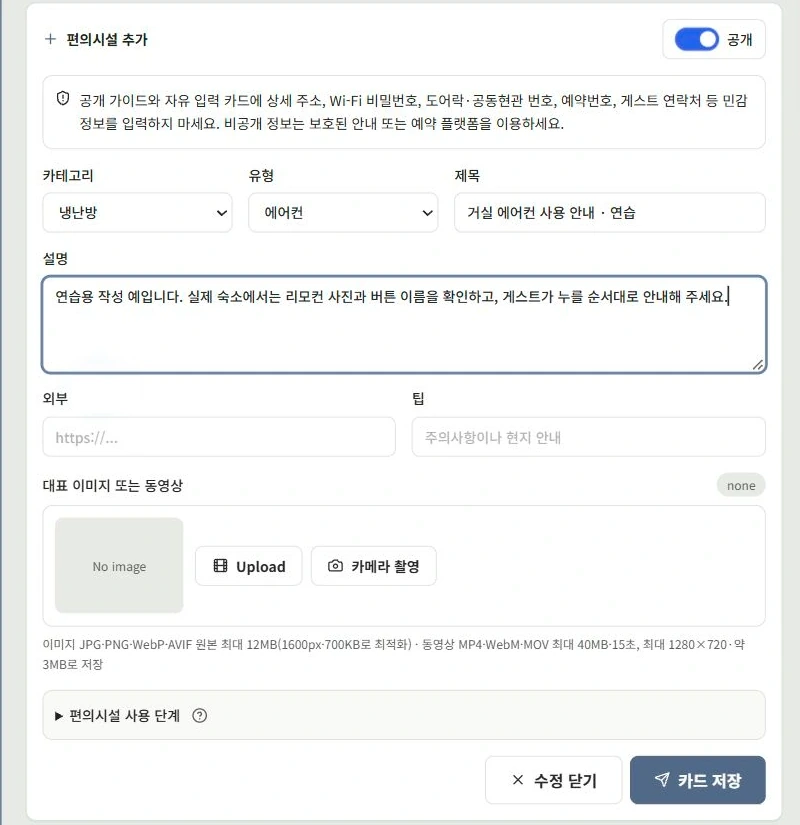
Open Add amenity, choose the appropriate type and write a title. To change an existing card, open that card’s editor.
The screenshot uses category Heating/Cooling, type Air conditioner and title Living-room air conditioner · Practice. If several rooms have the same appliance, use locations such as “Living-room air conditioner” and “Main-bedroom air conditioner.”
Start the description with where the appliance or remote is. Guests cannot follow even excellent instructions until they find it.
3. Test the equipment as you write
Operate the appliance rather than writing from memory. Start with turning it on, selecting the required function and turning it off. For example:
Title: Turn on the living-room air conditioner
The remote is in the white basket beside the TV.
① Press the red On/Off (운전/정지) button at the top left.
② Press Mode (운전선택) until Cooling (냉방) appears.
③ Use ▲▼ to adjust the temperature. Try 24°C to start.
When going out, press On/Off again to turn it off.
Adapt the button labels, positions and recommended temperature to your actual equipment. Include Korean labels such as 운전/정지 (On/Off), 난방 (Heating) and 외출 (Away) exactly as printed. Guests reading a translation can match them to the remote.
Check model-specific ranges and functions before mentioning them. Keep any cautions together in one or two sentences at the end.
4. Add photos of the actual equipment
Where photos are supported, photograph your own appliance and remote. Images of another model found online may show different buttons.
Here is the operating Seoul Ongi Hanok property’s air-conditioner card.
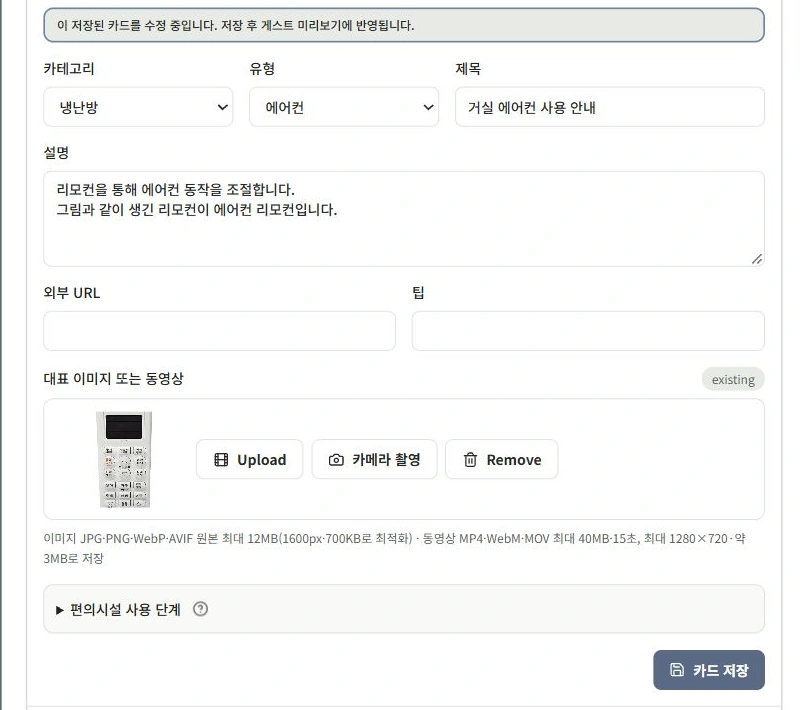
Take a photo showing the appliance’s location, plus a close-up of the remote or controls if the lettering is small. Shoot from the front and keep fingers clear of the buttons.
If step creation is available, split the sequence into steps and attach a relevant button photo to each. A short numbered list can still explain the process on a plan without photo or step features.
Check that images do not include personal belongings, faces, Wi-Fi password notes or entry codes.
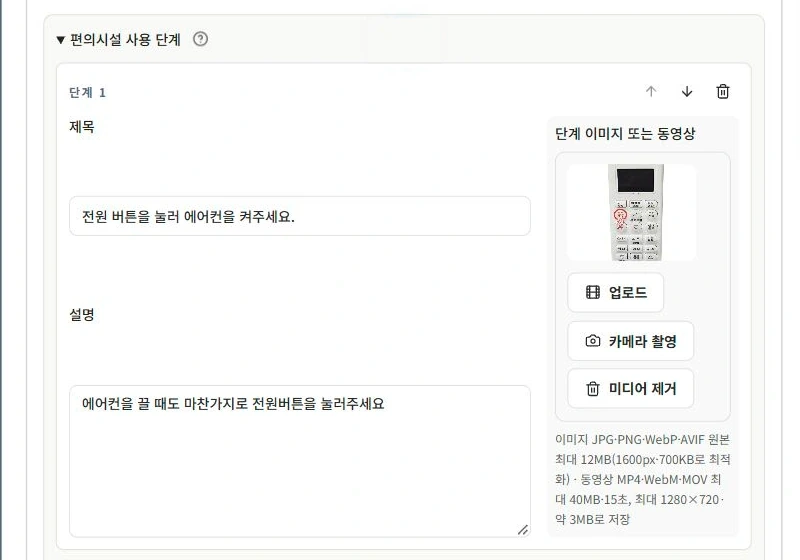
5. Save and reopen the card
Select Save card inside the card you are writing. This is separate from the bottom Save button in the property editor.
Reopen the card from the saved list and check its title, description and photos. Check disclosure settings where shown. Put frequently used appliances near the top.
When you replace an appliance or remote, update both photos and instructions. Check the saved card for old images.

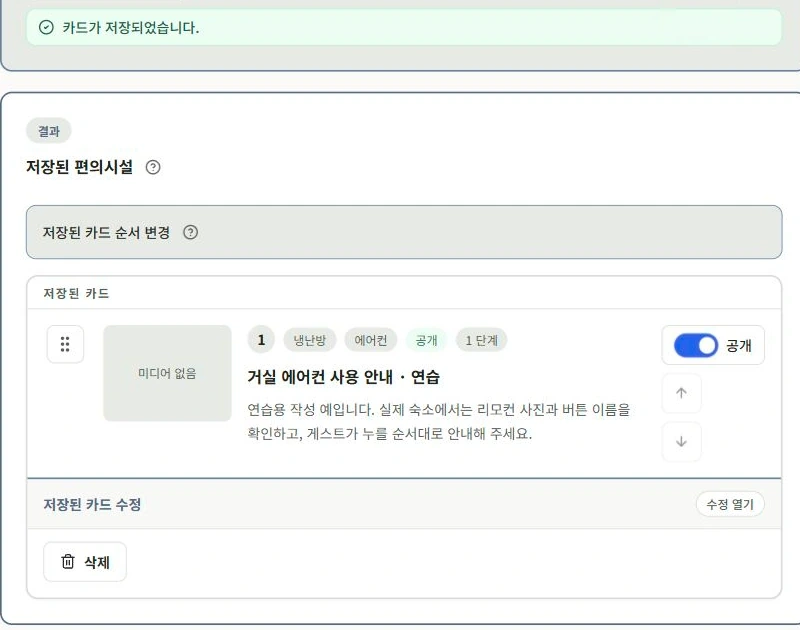
6. Check the guide beside the actual appliance
Open Amenities in the top Preview and find the card. For a published property, check its title, text and photos through the guest link too.
For a final check, stand beside the appliance and follow the card on your phone. If someone unfamiliar with it can turn it on, use the desired function and turn it off, the instructions are ready.
Put recurring troubleshooting questions, such as “It is not blowing cold air,” in Episode 9’s FAQ. Give guests simple checks and a contact method rather than difficult operations.

Check your progress
- You created and saved a card for one commonly asked-about appliance.
- You included the remote’s location and Korean button labels.
- You followed the card on your phone to turn the actual appliance on and off.
Availability and things to know
Amenity cards are available on all plans. The paid Plus plan provides broader access to features such as step-by-step guidance, photos and video.
Read next
Episode 7 · Create stay information: check-in, check-out and Wi-Fi