
How to use stayV Host · EP. 04
Using stayV HostSet up your basic information and location
At a glance
Help guests recognise the property they booked with a clear name and introduction, then register its address and map location accurately.


Let’s write a name and introduction that help guests immediately recognise the property they booked. Then we will register the address and check the map location.
Open your property’s editor from Property management. These screenshots show the Seoul Ongi Hanok · Practice guide draft.
At a glance
- Use a property name similar to the one on the booking page.
- Write two or three useful, factual sentences in the introduction.
- Search in Location and select Confirm and apply address to register it.
- Zoom in to check that the pin points to the actual building.
- The exact address is for booked guests only. Keep it out of the introduction.
Learn more
1. Check the property name and type
Select Basic on the left and check the property name. Matching the booking page helps guests recognise the link you send.
Choose property and space types that reflect the actual accommodation. Guests may be surprised on arrival if a private room was described as an entire building, or vice versa.
The guest-link address is created automatically with the property. You do not need to choose an address name yourself.
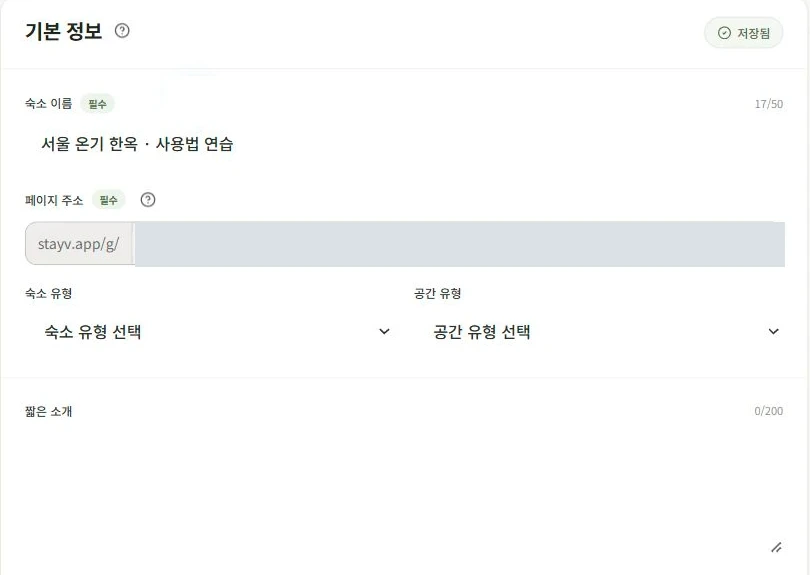
2. Write what guests want to know first
Briefly describe the property and the spaces guests can use. Choose facts useful to someone who has booked it.
Example introduction
This third-floor studio is in a residential area of Mangwon. There is no lift, so access is by stairs. You can prepare simple meals in the small kitchen, and Mangwon Market is a five-minute walk away.
Mention practical limitations such as stairs honestly to avoid surprises on arrival. Manage passwords and personal contact details in their dedicated fields rather than the introduction.
The introduction in the screenshot says that the practice property does not accept real bookings. “Save needed” means the entered information has not yet been saved.
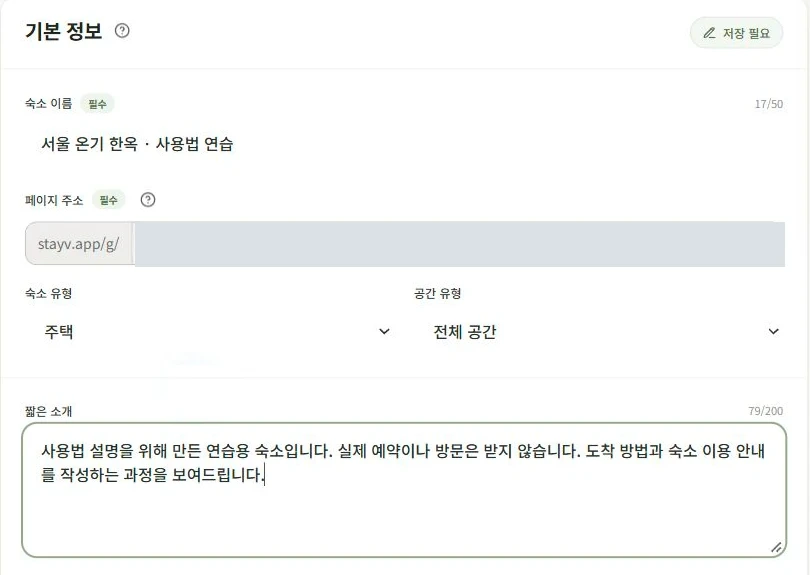
3. Choose your starting language and save
The base language is the language in which you first write the guidance. If you operate in Korean, start by writing accurate Korean instructions.
If your plan supports multiple languages, you can choose additional languages for guests. Incorrect times or facts in the Korean original will carry over into translations, so check the original first.
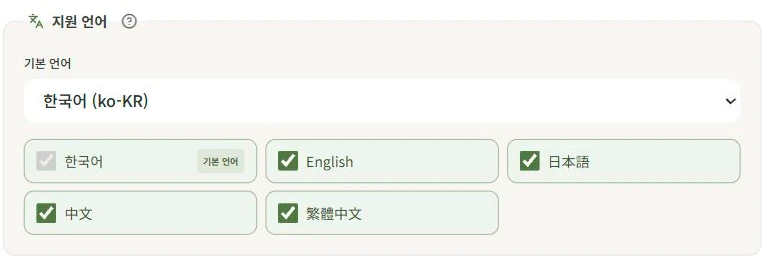
When finished, select Save, or Save and next to continue. Episode 10, Create a multilingual guide, explains how to check translations.
4. Search for and apply the address in Location
Select Location on the left. For demonstration, the screenshot searches for Seoul City Hall rather than the property’s real address. Enter your address and select the correct building. Check the neighbourhood and building name, since similar addresses can refer to different buildings.
Select Confirm and apply address, then check the address and map position. Put details such as building or unit numbers in the appropriate field. Entering a search term alone does not register the address; finish by applying it.
Start with a wider map view to check the area, then zoom in to check the building.
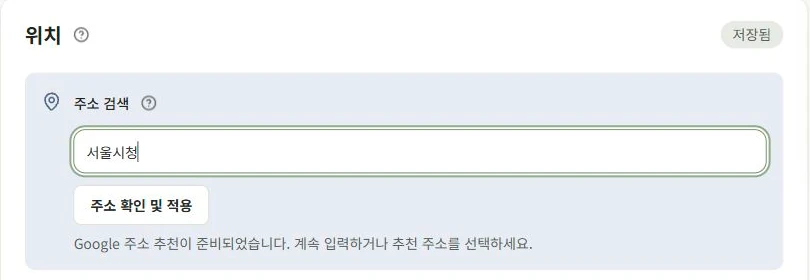
5. Check that the pin points to your property
Make sure the map shows the building guests should reach. Address searches can place pins incorrectly for large buildings or properties in alleys.
Use Having trouble finding the exact location by address? to correct the position with a Google Maps sharing link or coordinates. Open the link first to check that it points to your property.
Applying a location again may change the address or its details. Recheck both the map and address fields afterwards. Use Episode 6’s Arrival cards for the final alley turns and entrance directions.
6. Know who can see the exact address
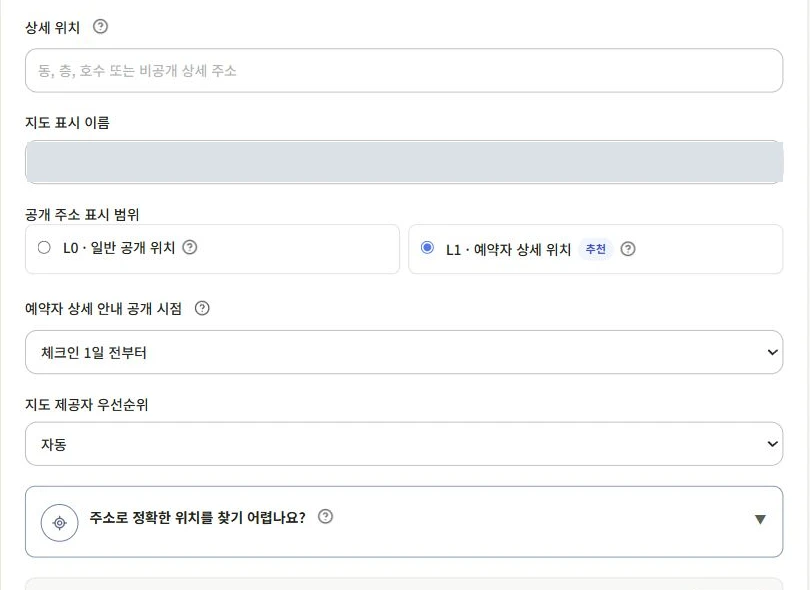
Registering an address does not show it to everyone who opens the link. General visitors see an approximate neighbourhood; booked guests who enter the code can see the exact address.
Read the on-screen address-disclosure guidance and check when booked guests can see the address. The host preview shows the full address, but the public view may differ.
An address written directly in the introduction or a public card is visible to everyone who can read that text. Manage the exact address only in the dedicated Location fields.
7. Save and check the guest view
Once the address and map are correct, select Save and confirm it finished. If you changed additional settings with their own Save buttons, check those too.
Open the top Preview to read the name, introduction and location guidance. For a published property, open the guest link in a browser where you are logged out, such as an incognito window, and check that general visitors see only the approximate location.

Check your progress
- The property name and type match the booking page.
- You searched for the address and selected Confirm and apply address.
- The pin points to the building, and general visitors see the approximate location.
Availability and things to know
Basic information and location settings are available on all plans. Multilingual features vary by plan.
Read next
Episode 3 · Using the property editor: 10 menus, saving and previewing